Ski Waxing
There are two waxing methods used in the Nordic season, and the waxing methods vary based on (1) ski type and (2) event type. The information on this page steps through the methods.
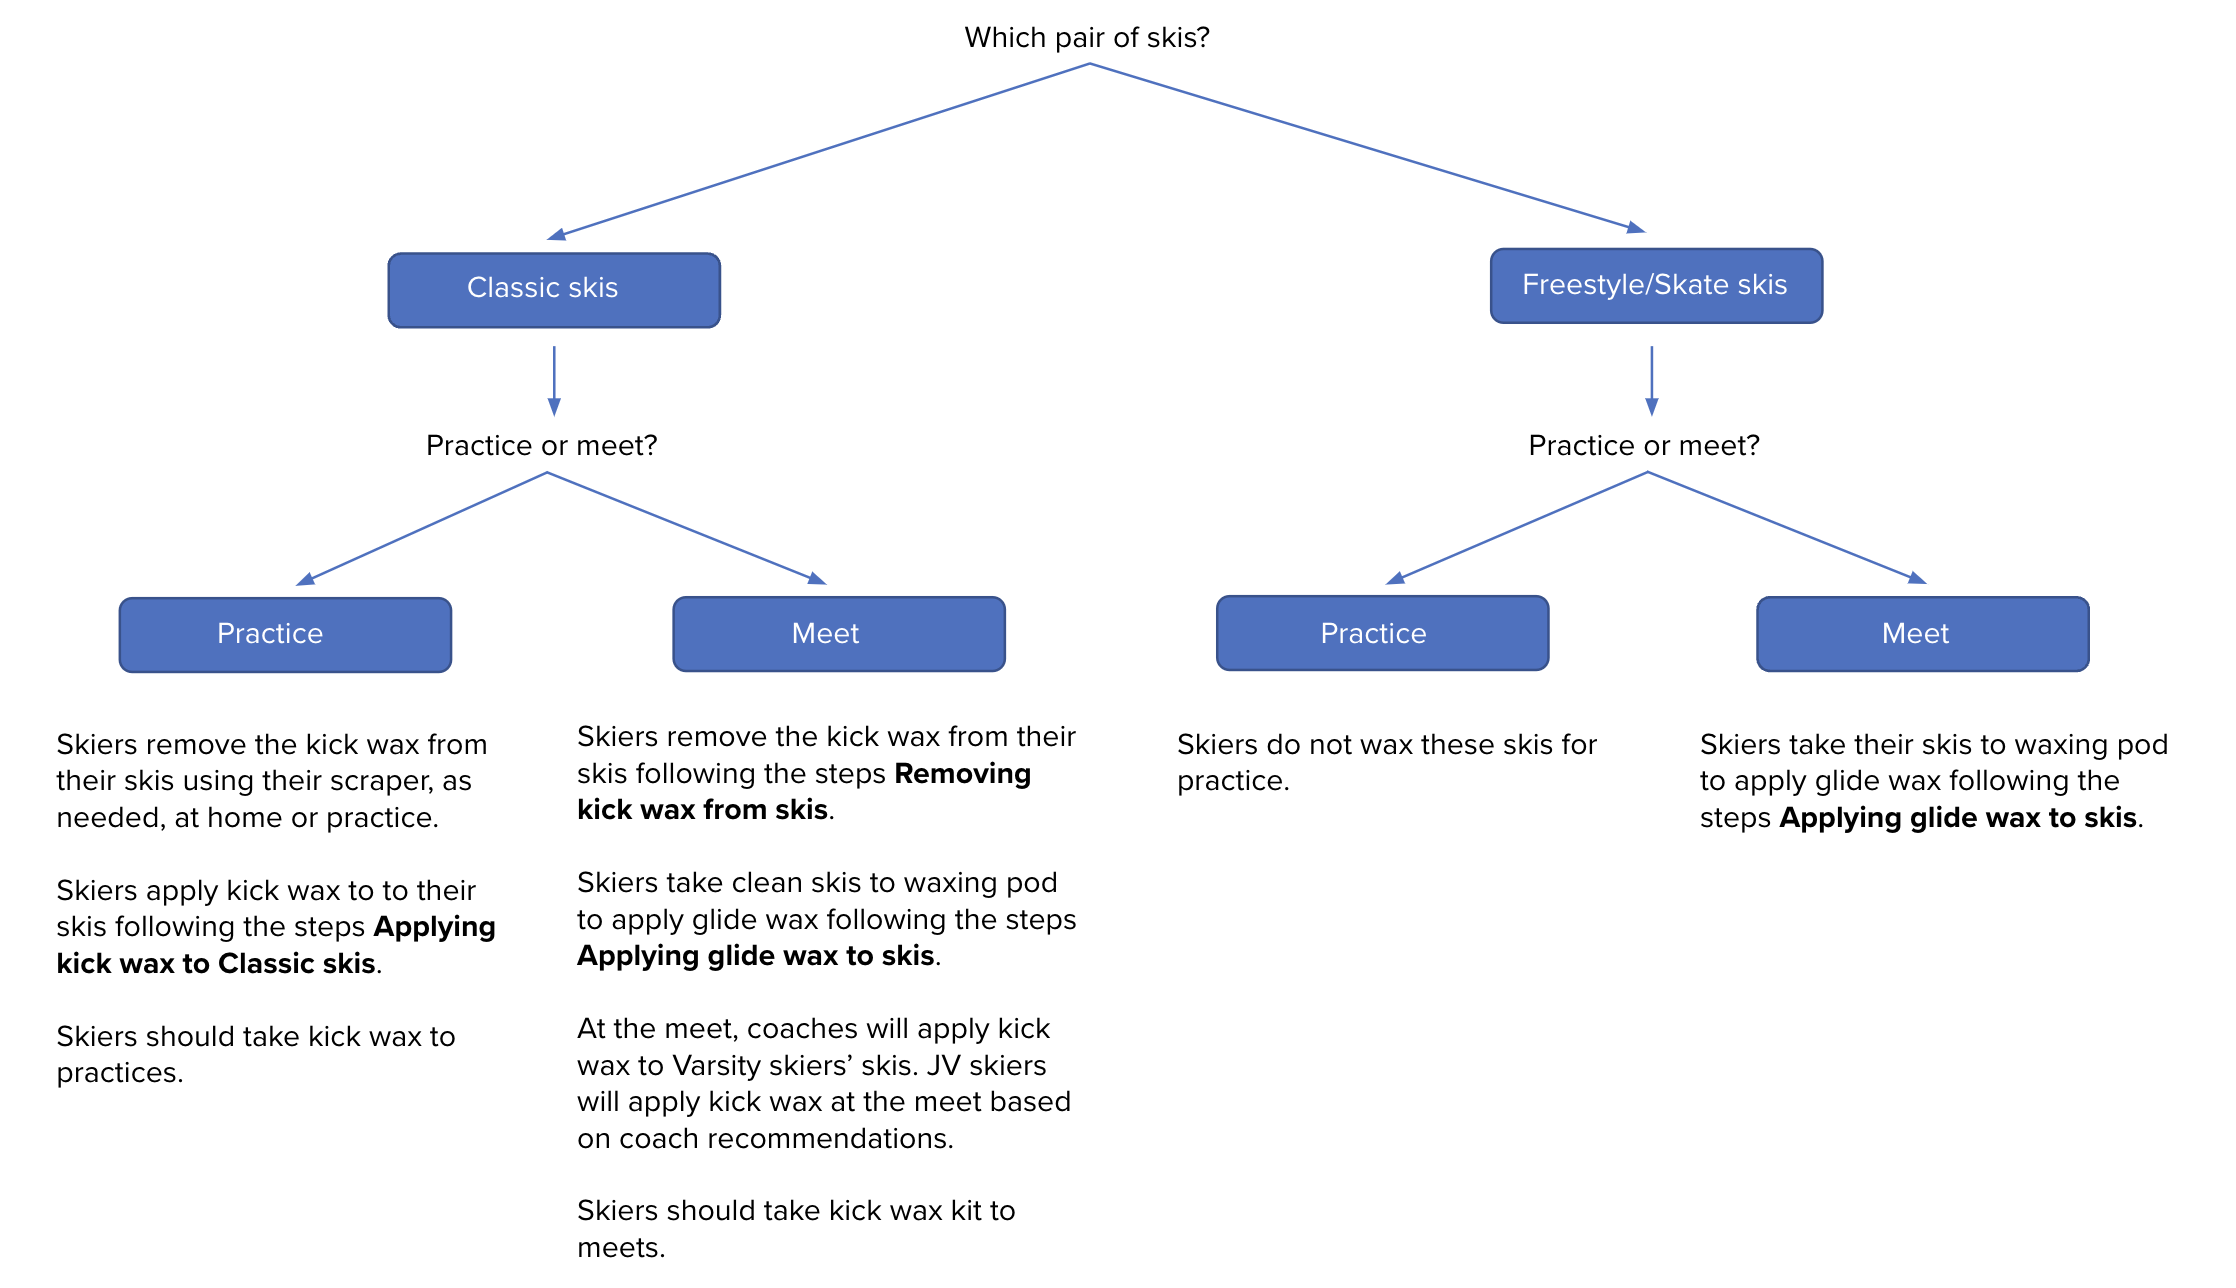
A flowchart at the bottom of the page outlines the ski waxing methods required based on ski and event type.
Ski Waxing Clinic
At the beginning of each season, Coach Abery conducts a hands-on ski waxing clinic for all new skiers. Returning skiers who want a waxing "refresh" can also attend. The skiers learn how to remove and apply glide wax and remove and apply kick wax. They also learn the process involved in waxing skis for practices versus meets.
Each skier's family requires a single kick wax kit and wax remover. The kick wax kit includes four types of waxes (different colors for different temperatures), a wax scraper, and a synthetic cork.
All glide wax materials and equipment is provided to the waxing pods by the Booster Club. Skiers are not required to purchase these items.

Waxing for practice
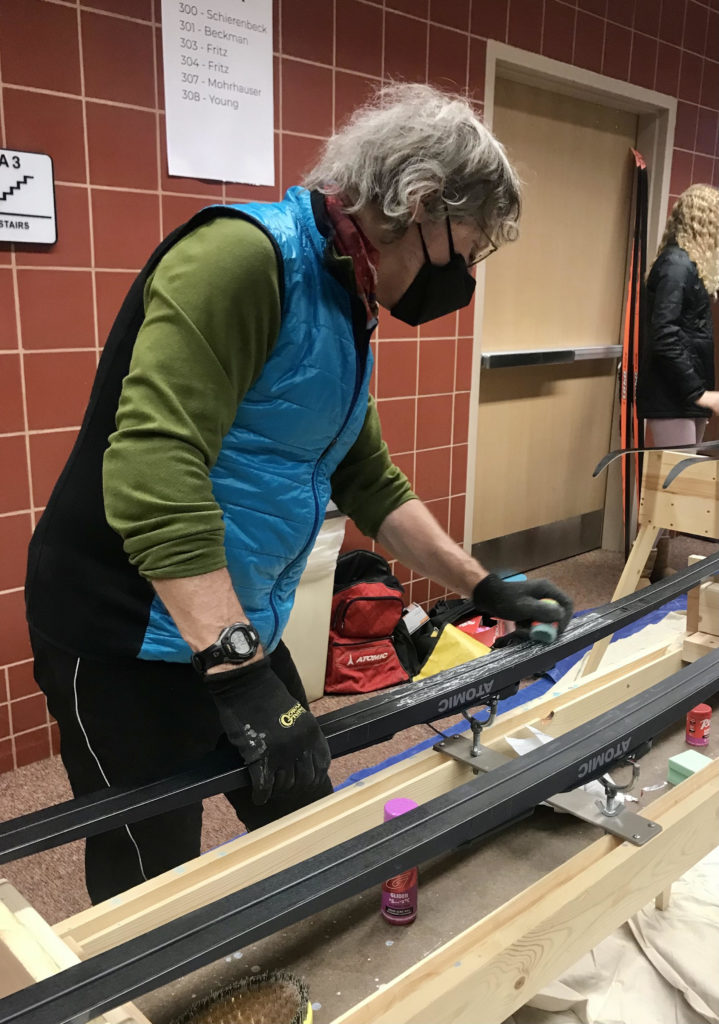
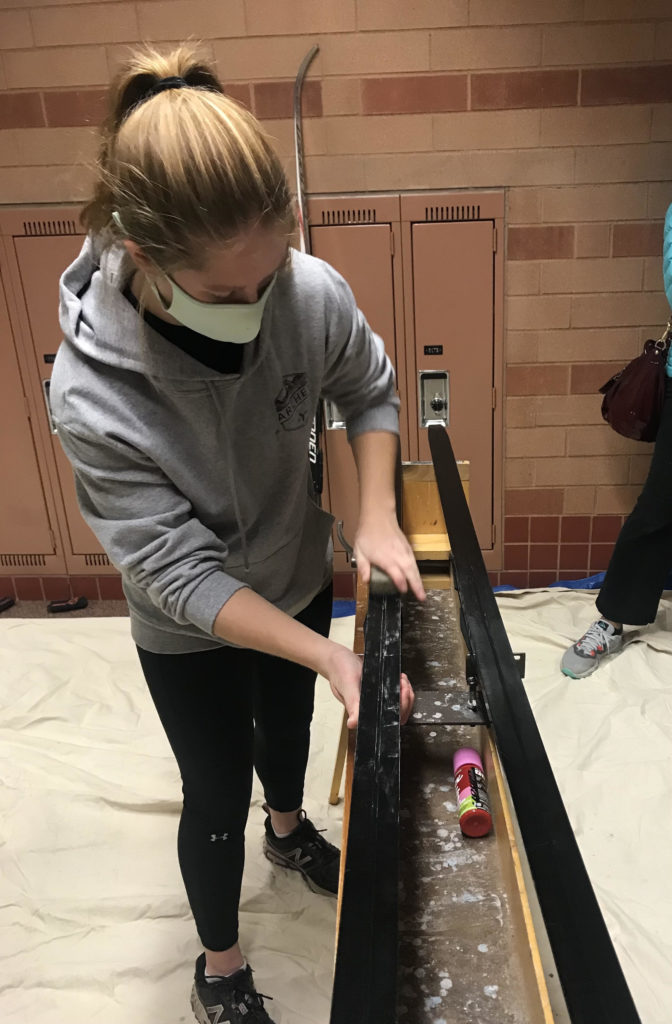
Skiers are responsible for applying kick wax to their Classic skis at the beginning of each practice. Freestyle/Skate skis do not have kick wax applied. Coaches will communicate the kick wax type (color) to be applied on a given day.
Skiers will
- Remove all kick wax on their skis before applying more kick wax.
- Make sure you know the coach-specified kick wax to use.
- Apply the kick wax before heading out to ski.
Skiers should keep their kick wax kit in their gear bag or a waist pack at practice as they may want to apply additional kick wax mid-practice.
Applying kick wax to Classic skis
Waxing for meets
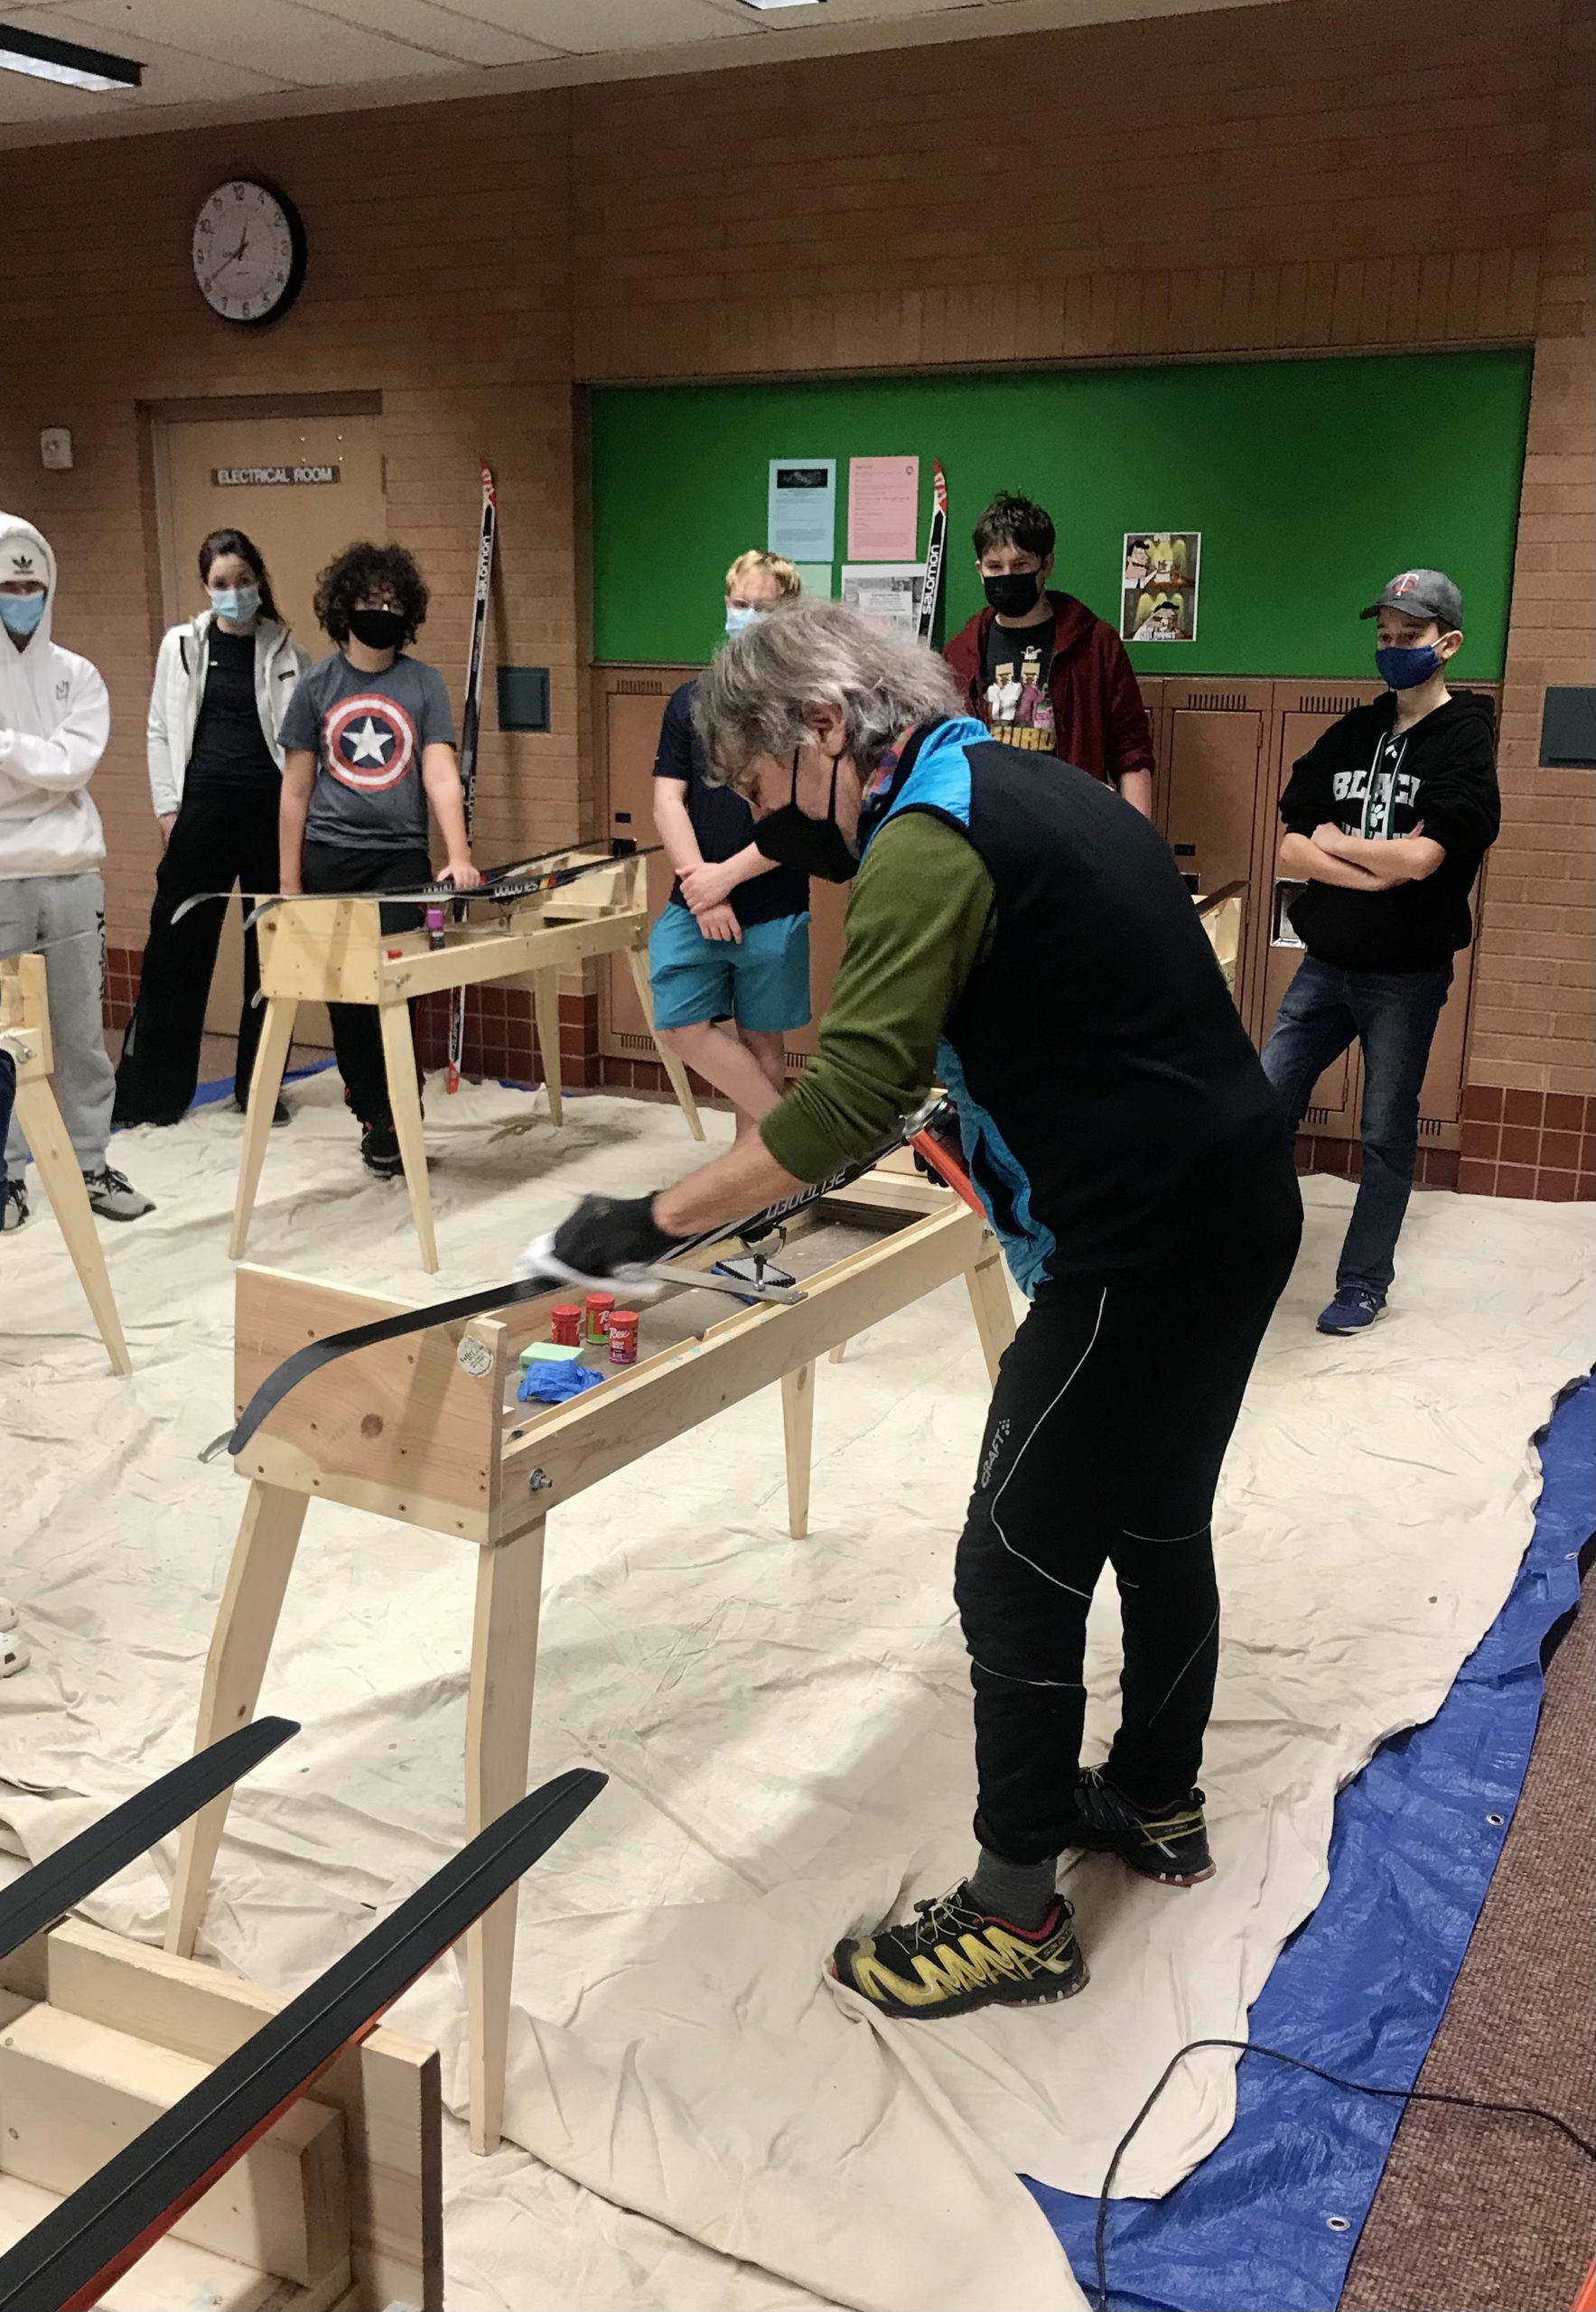
The day/evening before races, skiers will meet with their waxing pod to apply glide wax to their skis. THIS APPLIES TO BOTH CLASSIC AND SKATE SKIS. Each pod's location will be provided with glide wax remover, glide wax, a brush, and a waxing bench from the Booster Club.
In order to wax pre-race, skiers will
- Remove all kick wax on Classic skis at home.
- At the pod, remove all glide wax, from your Classic or Skate skis.
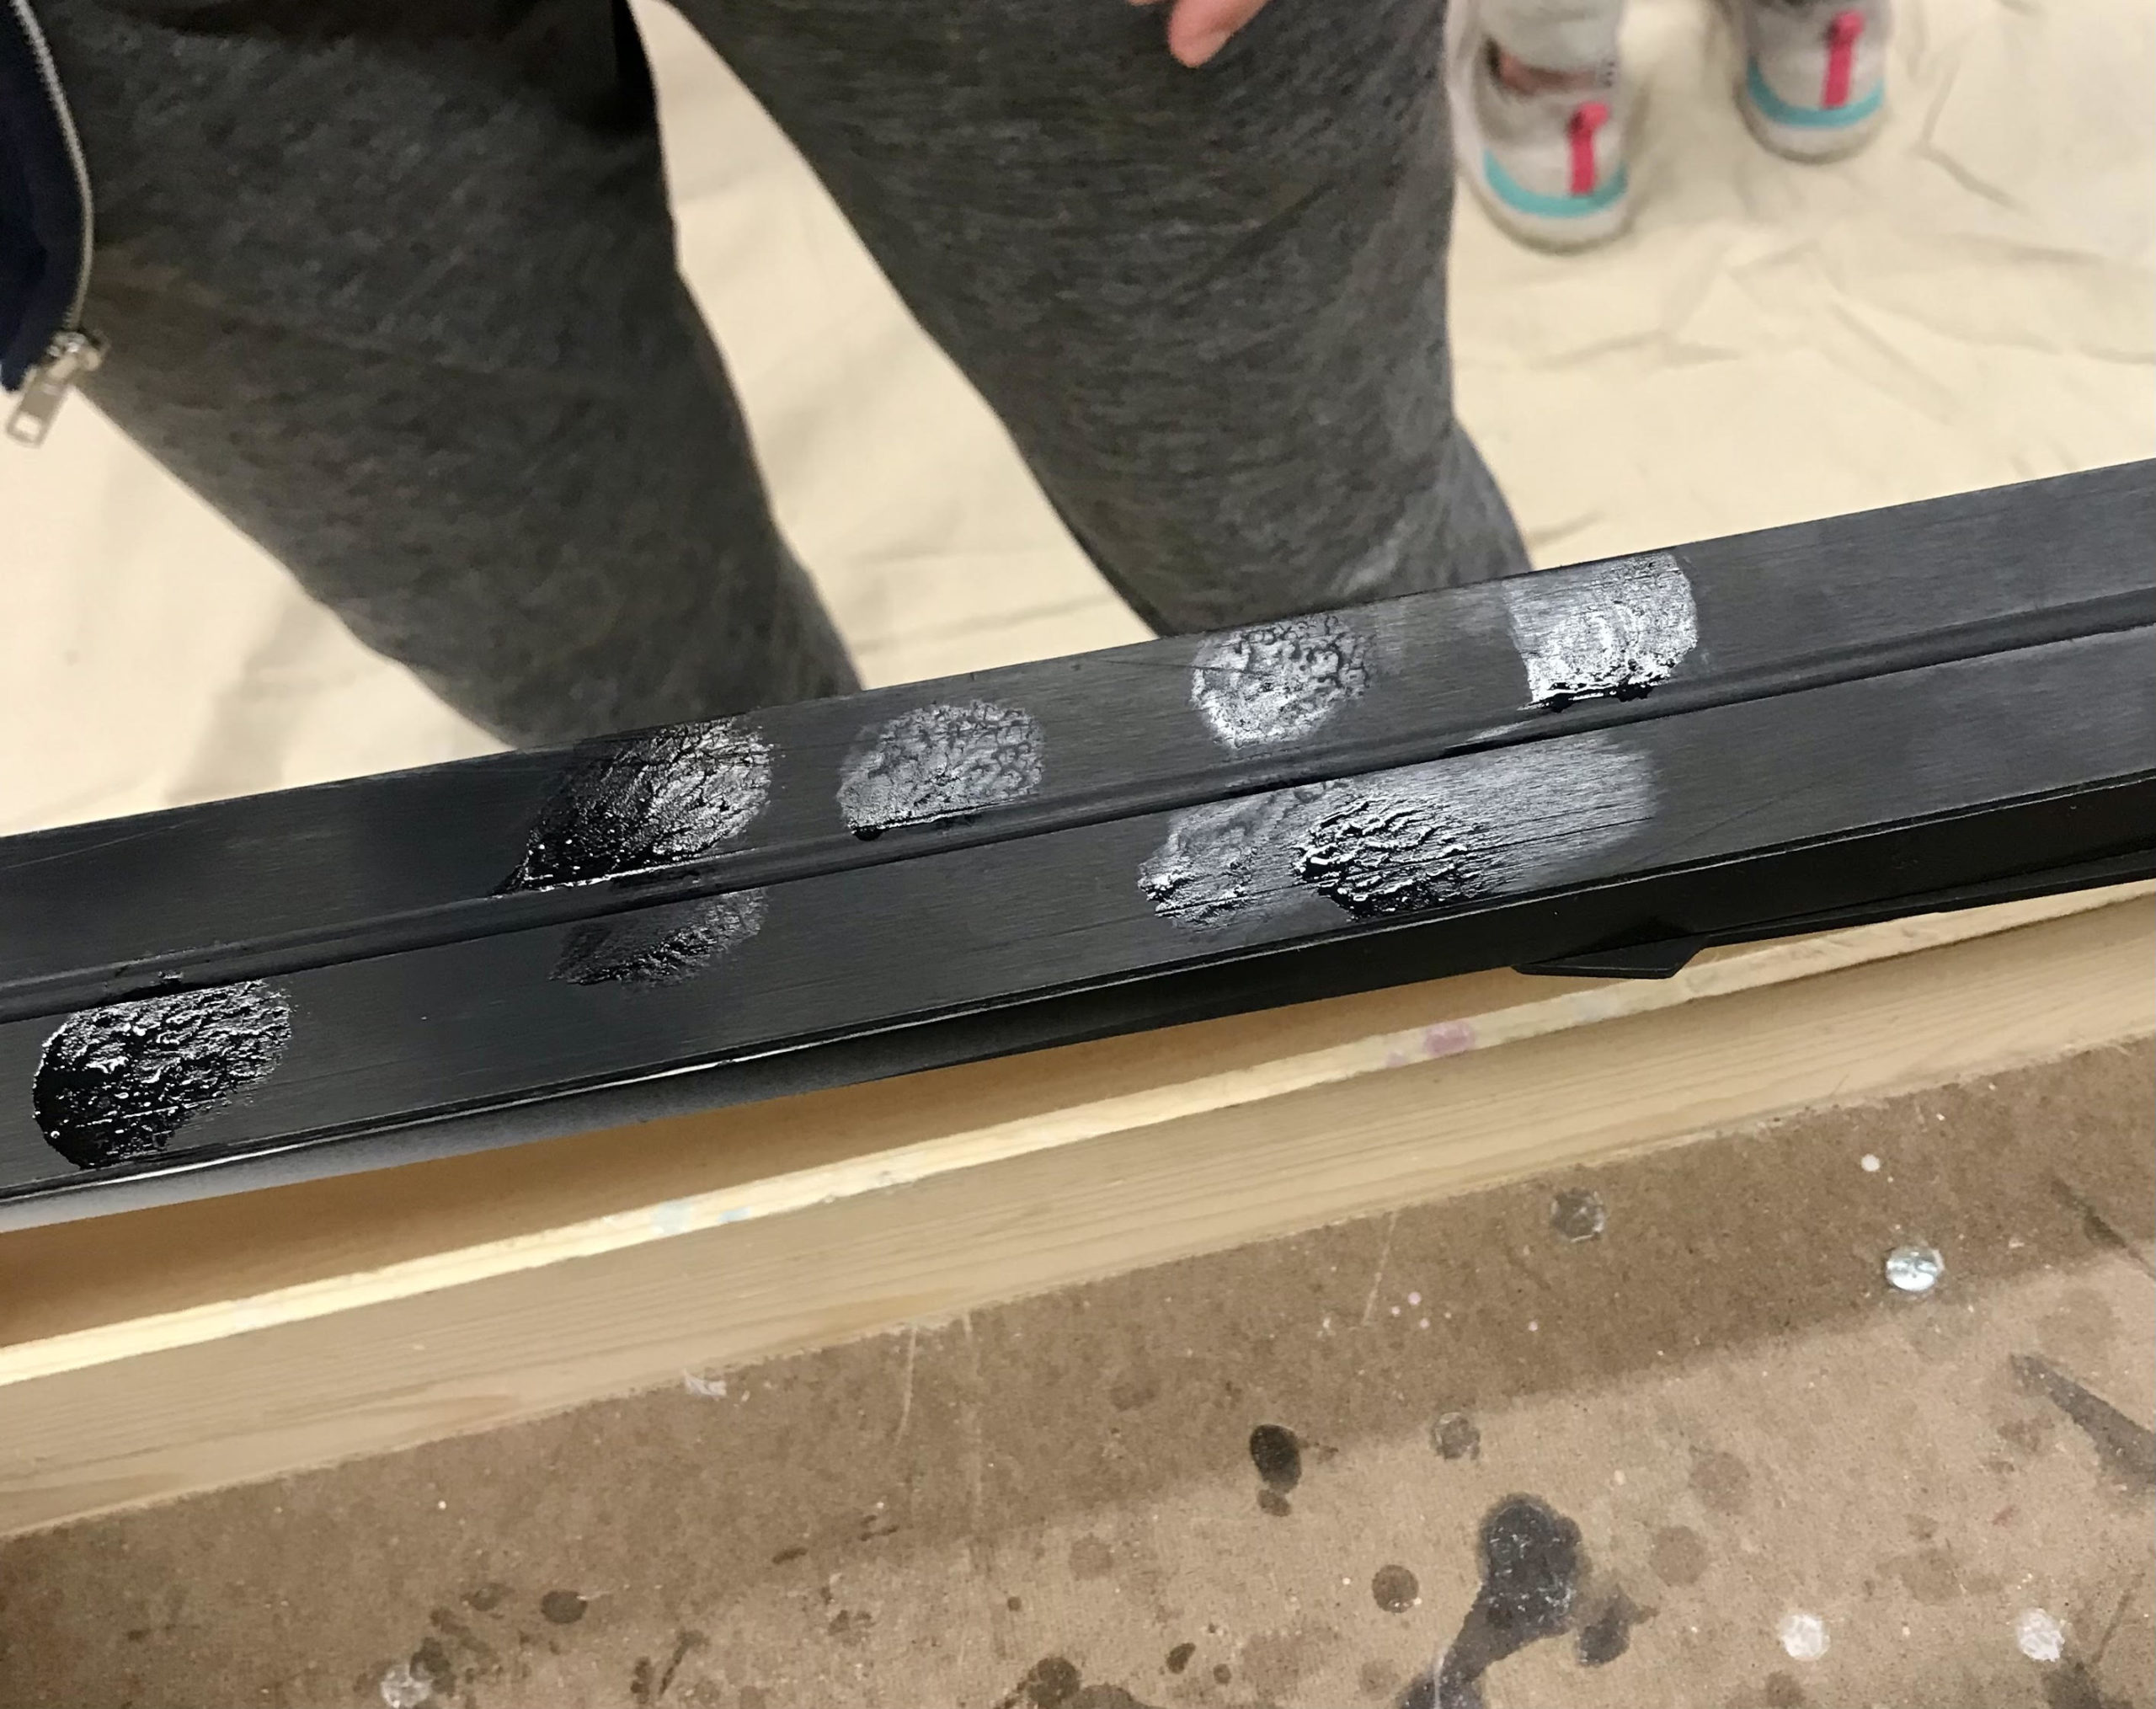
- Then apply glide wax using the method provided. (Don't forget to brush out the skis 15 minutes after the glide wax is applied!)
- Help clean up the pod's meeting place before leaving.
Upon arrival at a Classic meet, skiers will provide the coach with their skis with kick wax already removed. Kick wax will be applied by coaches (Varsity). JV skiers will apply their own based on coach recommendations.
Removing kick wax from Classic skis
Applying glide wax to skis


Choose your adventure with ski waxing!
The flowchart below outlines the ski-waxing prep needed for practices and meets. To determine the waxing method(s) needed, a skier will identify (1) the ski type and (2) the event.
These instructions apply to ALL skiers, directing skiers to specific waxing instructions above. Note that coaches may apply slightly different waxes to Varsity skiers' skis.

ISD 196 Nordic Ski Booster Club | email: isd196nordicskiteam@gmail.com
Head Coach: Brian Abery | email: abery001@umn.edu
