Ski Waxing

There are two waxing methods used in the Nordic season, and the waxing methods vary based on (1) ski type and (2) event type. The information on this page steps through the methods.

A flowchart at the bottom of the page outlines the ski waxing methods required based on ski and event type.
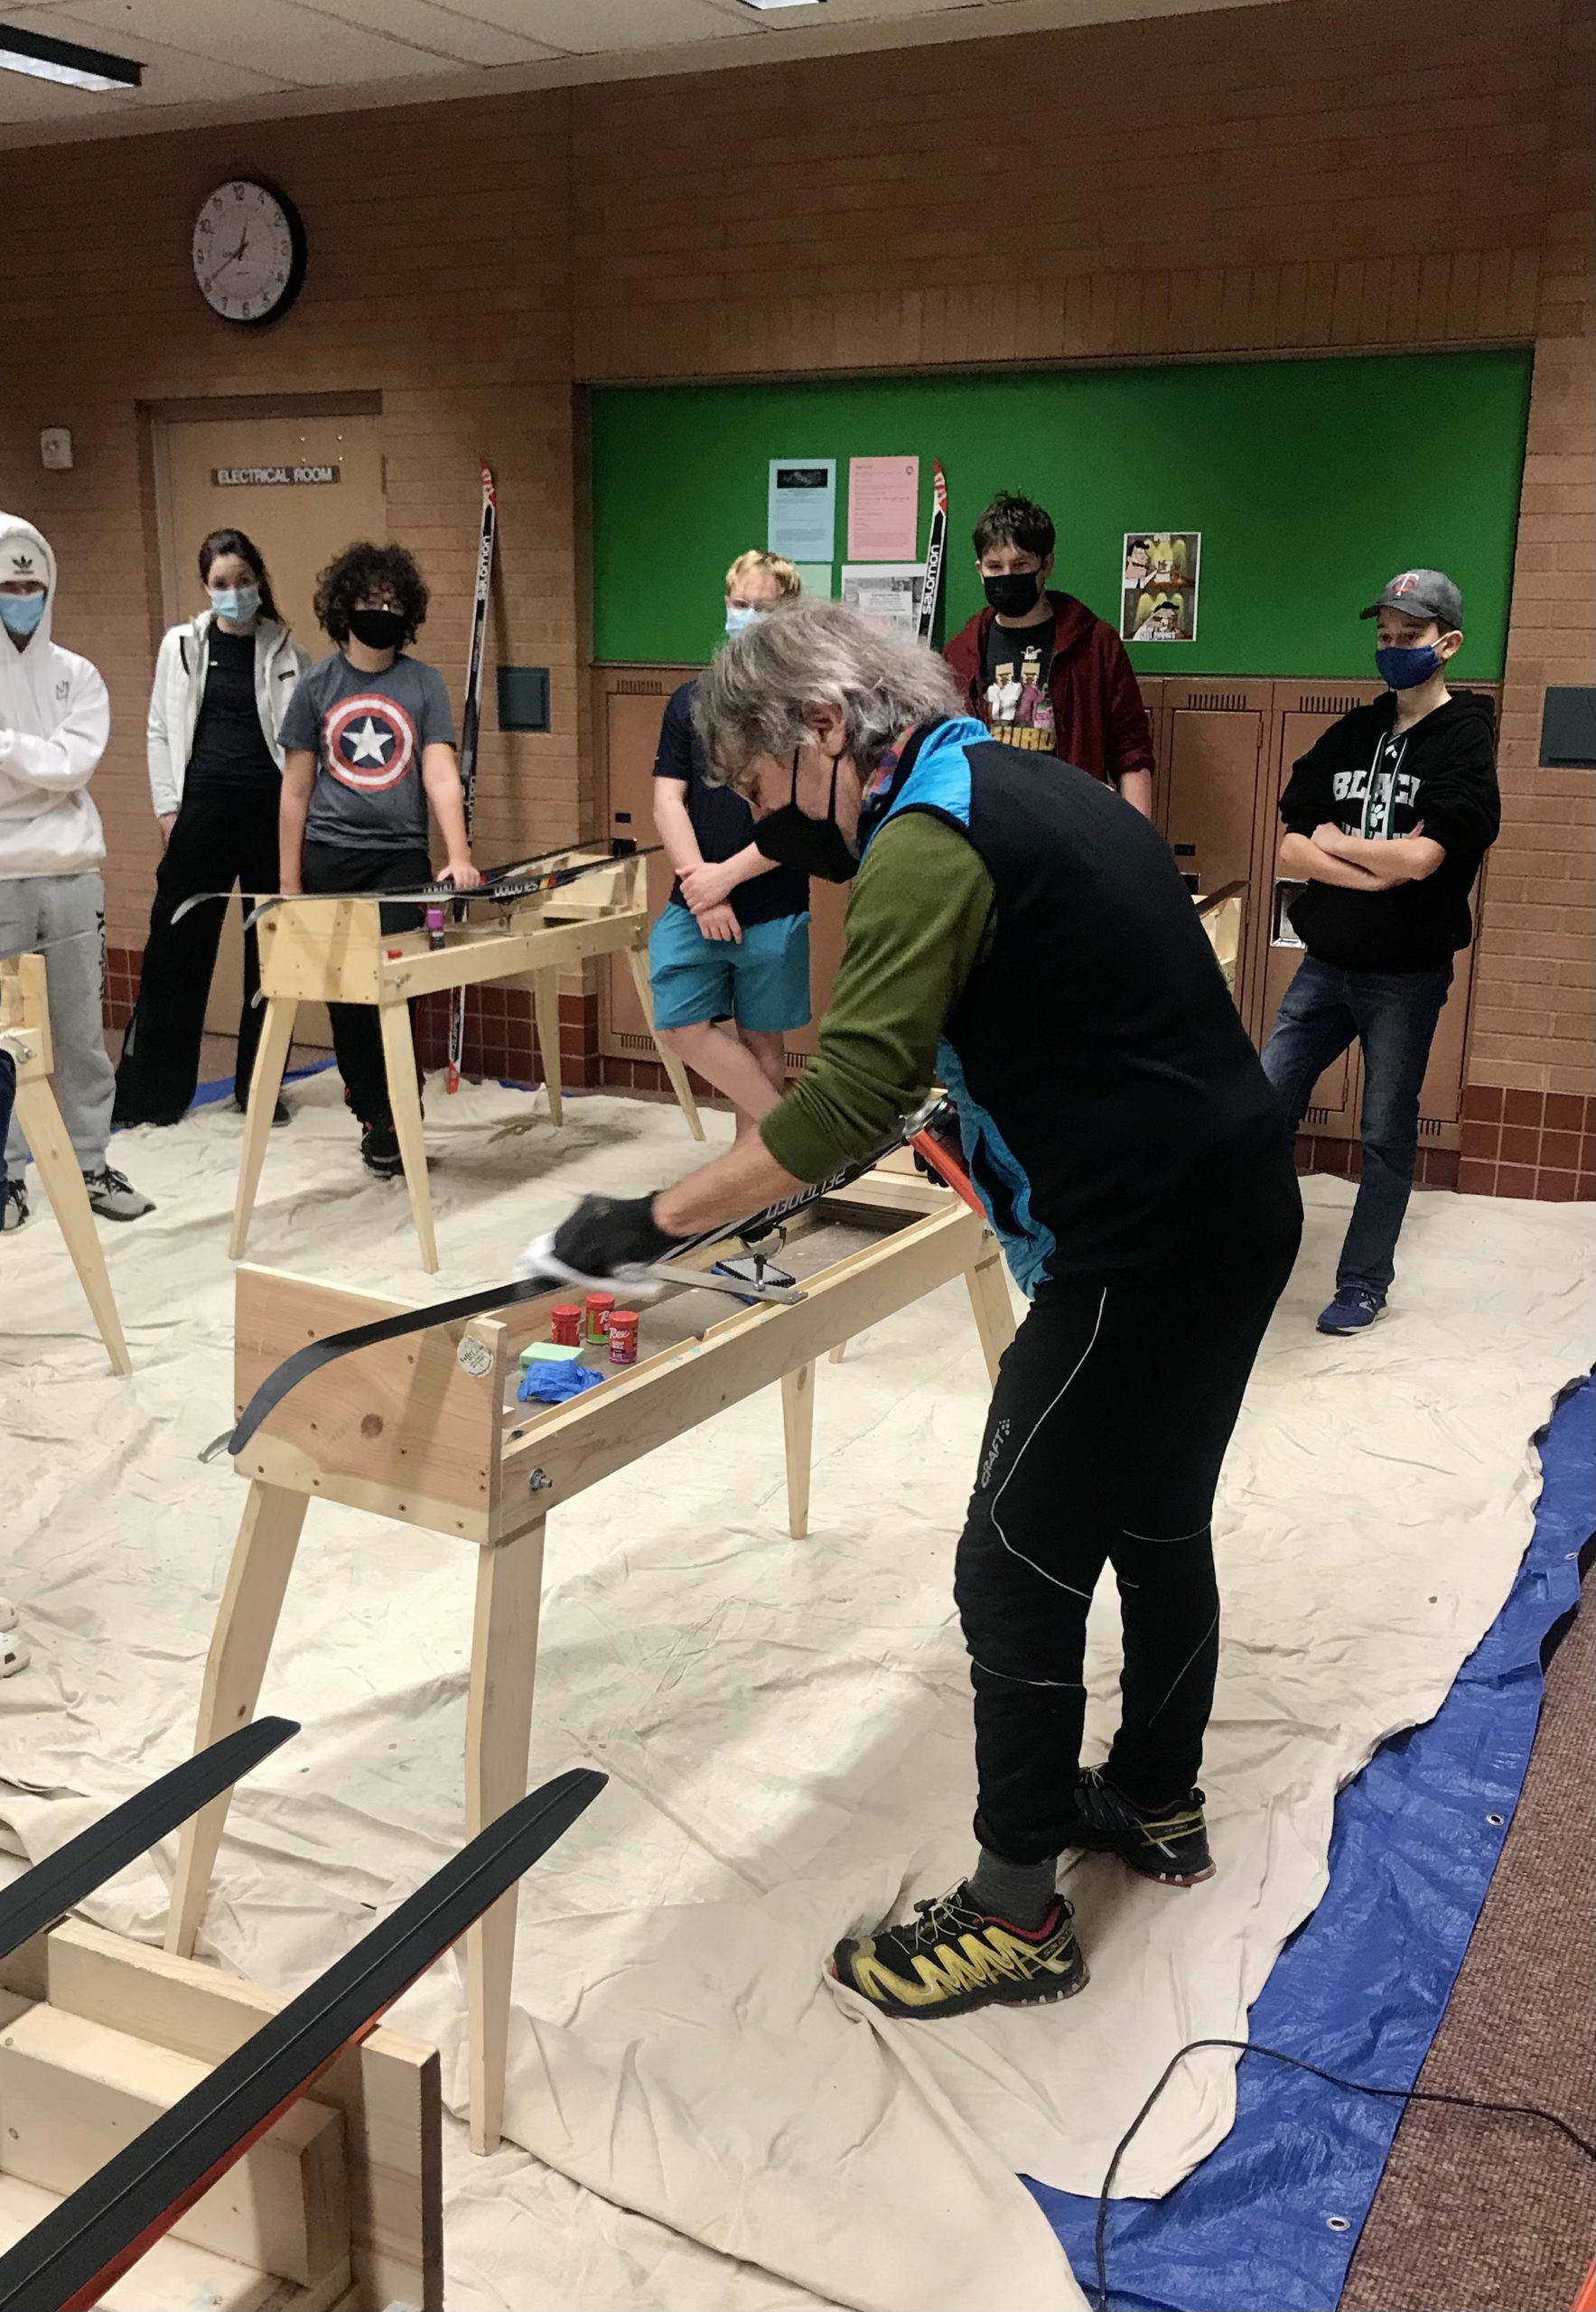
Ski Waxing Clinic

At the beginning of each season, Coach Abery conducts a hands-on ski waxing clinic for all new skiers. Returning skiers who want a waxing "refresh" can also attend. The skiers learn how to remove and apply glide wax and remove and apply kick wax. They also learn the process involved in waxing skis for practices versus meets.

Key items to note (and outlined below) from the clinic:

  • Only Classic skis have kick wax applied.
  • Skiers should remove their kick wax before EVERY practice and meet.
  • Each skier's family requires a single kick wax kit and wax remover. The kick wax kit includes four types of waxes (different colors for different temperatures), a wax scraper, and a synthetic cork.
  • Skiers are responsible for applying their own kick wax to their Classic skis when they arrive at the practice location.
  • Coaches apply kick wax to Varsity skiers' Classic skis before meets; JV skiers will apply their own based on coach recommendations.
  • Skiers will apply glide wax to their Classic and Freestyle/Skate skis in designated waxing pods (small groups of skiers) the evening before a meet.
  • All glide wax materials and equipment is provided to the waxing pods by the Booster Club. Skiers are not required to purchase these items.
Coach Abery teaching a group of skiers at the Ski Waxing Clinic

Waxing for practice

Skiers are responsible for applying kick wax to their Classic skis at the beginning of each practice. Coaches will communicate the kick wax type (color) to be applied on a given day.

Skiers will

  1. Remove all kick wax on their skis before applying more kick wax.
  2. Make sure you know the coach-specified kick wax to use.
  3. Apply the kick wax before heading out to ski.

Skiers should keep their kick wax kit in their gear bag or a waist pack at practice as they may want to apply additional kick wax mid-practice.

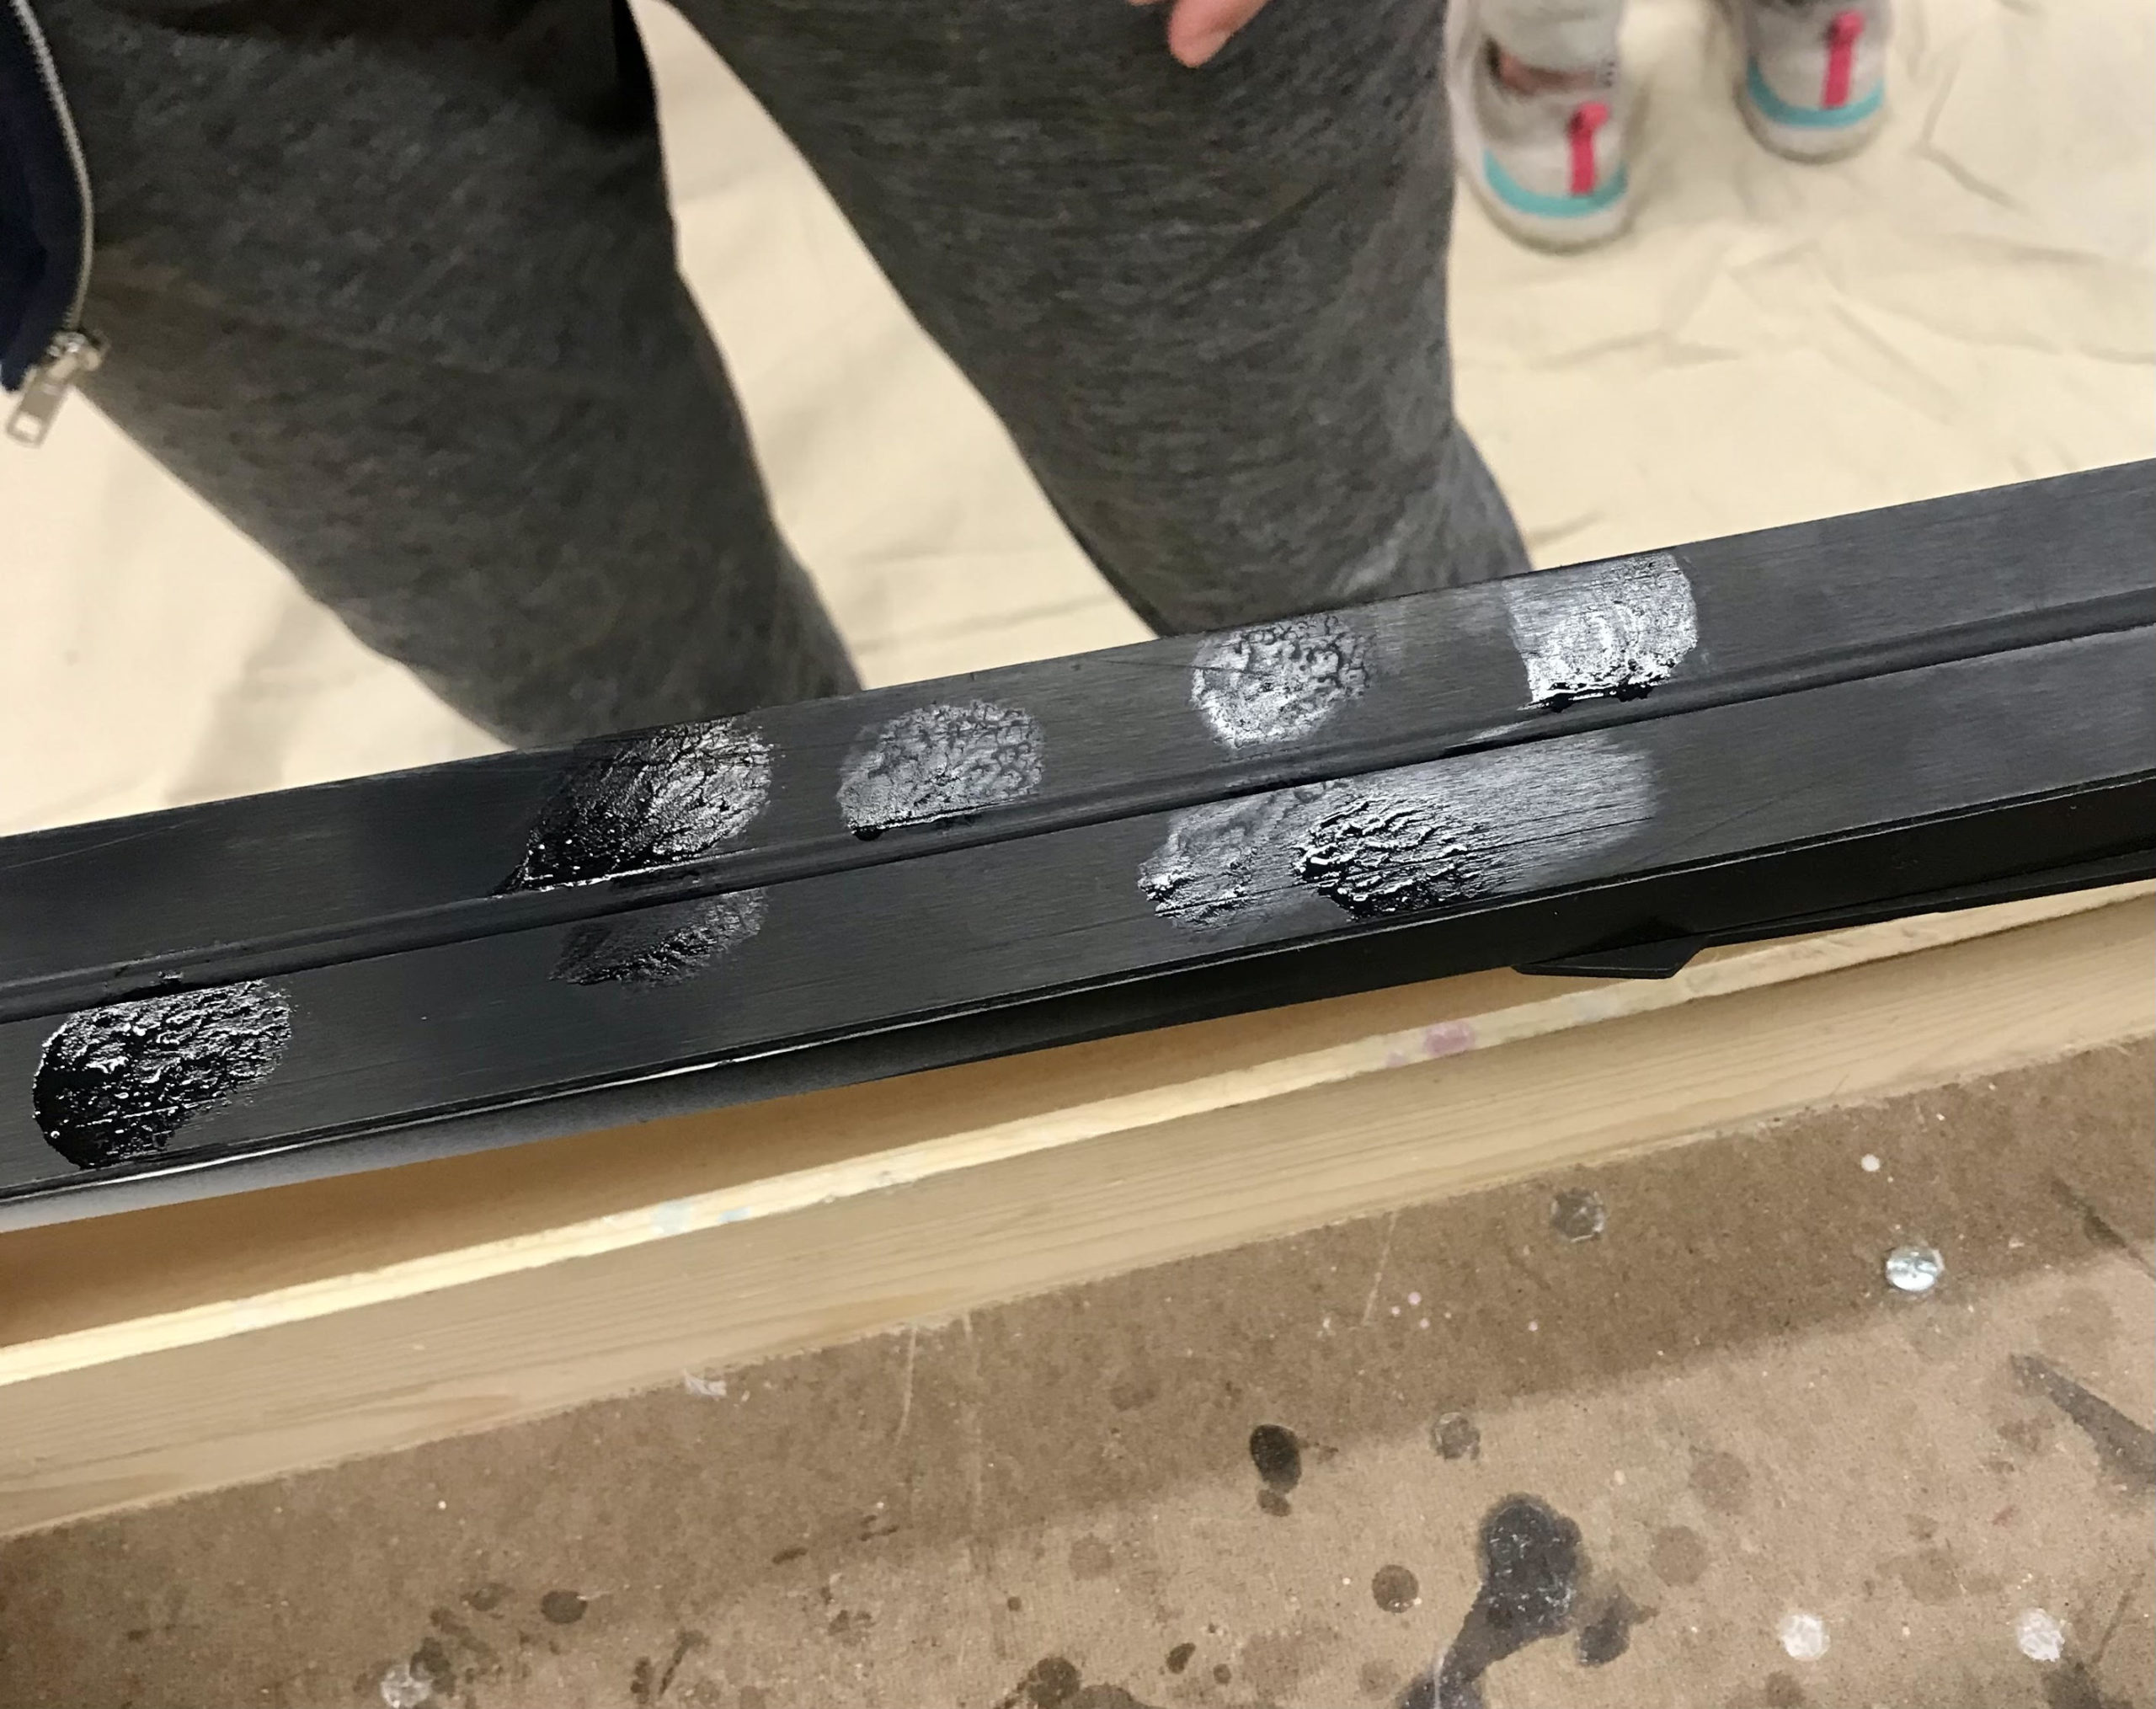
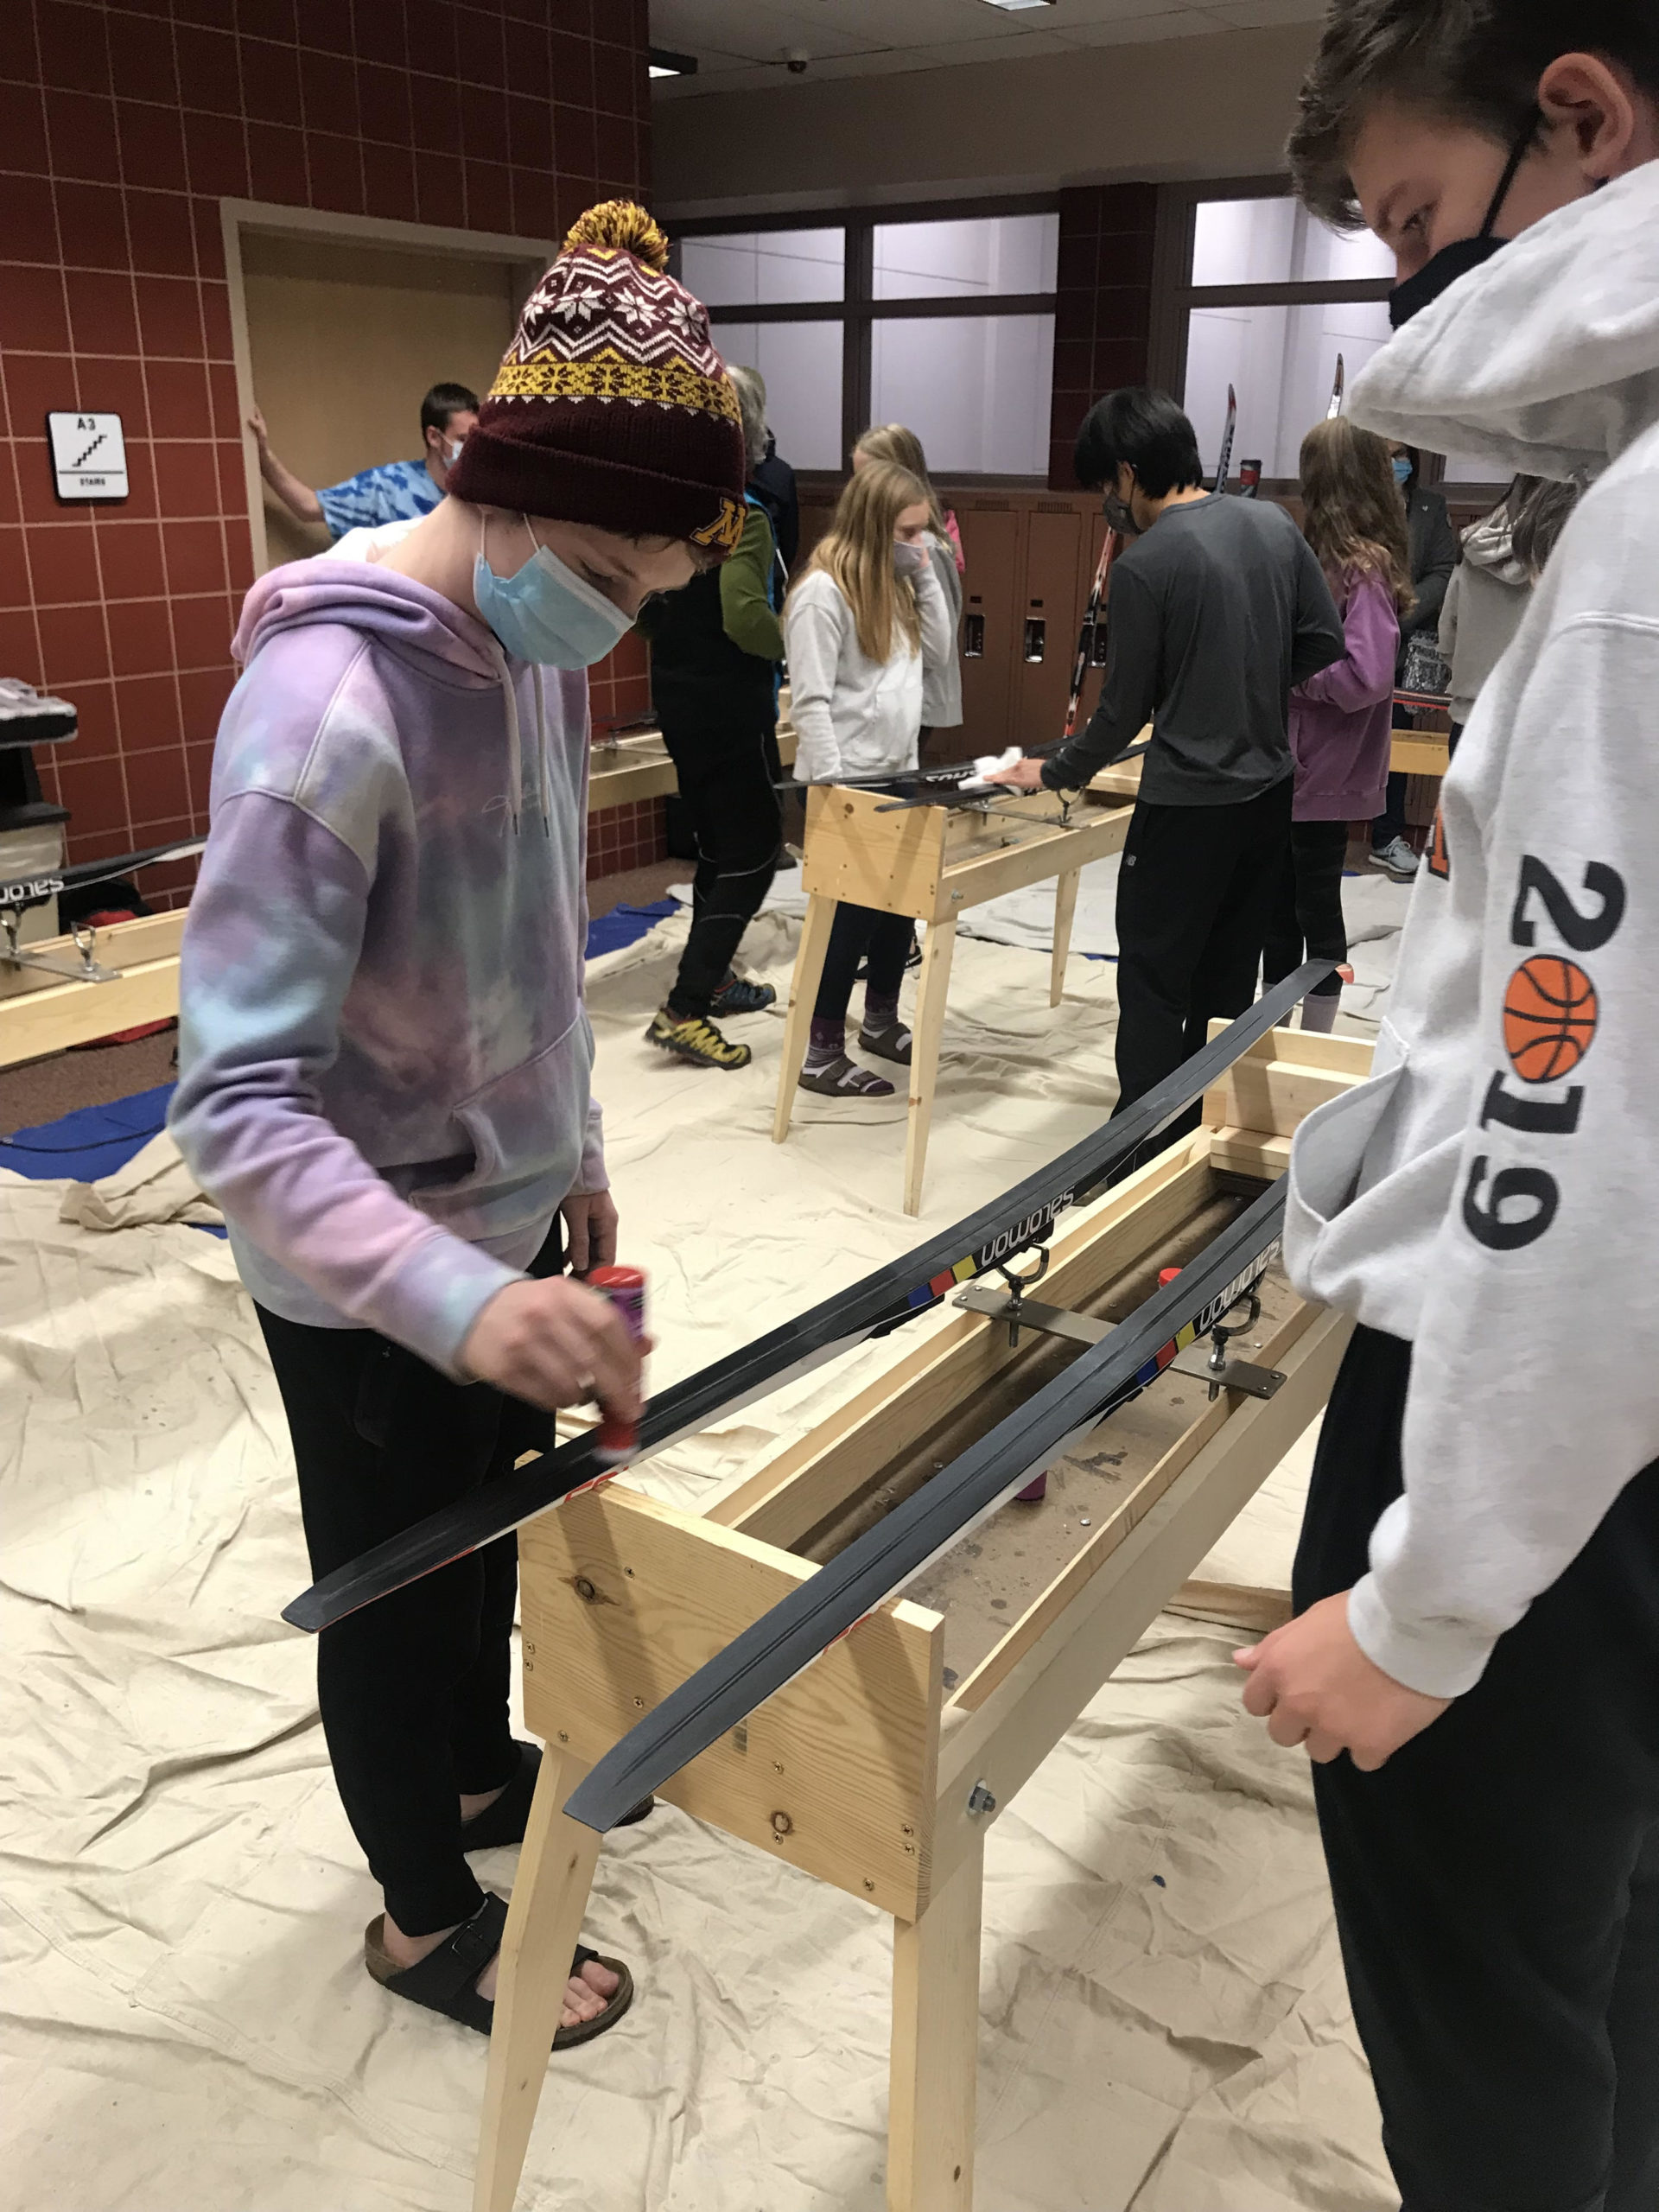
Applying kick wax to Classic skis

Notes:

  • The wax used depends on the temperature!
  • Freestyle/Skate skis do not use kick wax.
  • In the images, a waxing bench is used, but a bench is NOT needed for scraping off and applying kick wax.

Materials:

  • kick wax kit
  • scraper
  • synthetic cork

Steps:

  1. Before applying kick wax to skis, make sure all previously applied kick wax is removed using a scraper. It is most important to do this when ski conditions change from the previous time kick wax was applied.
  2. Tear off enough of the top part of the wax's outer paper, so that the wax can be applied.
  3. Apply a thin layer of wax to the kick zone area using the top edges of the wax (holding at an angle as in photo).
  4. Rub the synthetic cork back and forth on the kick wax in the kick zone to create friction and heat. When the waxed surface is clear, stop rubbing.
  5. Complete steps 3 and 4 four times total.Ā  Note that each round of waxing and rubbing should take approximately thirty seconds. This is not a long process.
Applying kick wax to kick zone
Smoothing kick wax with synthetic cork

Waxing for meets

The day/evening before races, skiers will meet with their waxing pod to apply glide wax to their skis. THIS APPLIES TO BOTH CLASSIC AND SKATE SKIS. Each pod's location will be provided with glide wax remover, glide wax, a brush, and a waxing bench from the Booster Club.

In order to wax pre-race, skiers will

  1. Remove all kick wax on Classic skis at home.
  2. At the pod, remove all glide wax, from your Classic or Skate skis.
  3. Then apply glide wax using the method provided. (Don't forget to brush out the skis 15 minutes after the glide wax is applied!)
  4. Help clean up the pod's meeting place before leaving.

Upon arrival at a Classic meet, skiers will provide the coach with their skis with kick wax already removed. Kick wax will be applied by coaches (Varsity) or skiers (JV) before the races.

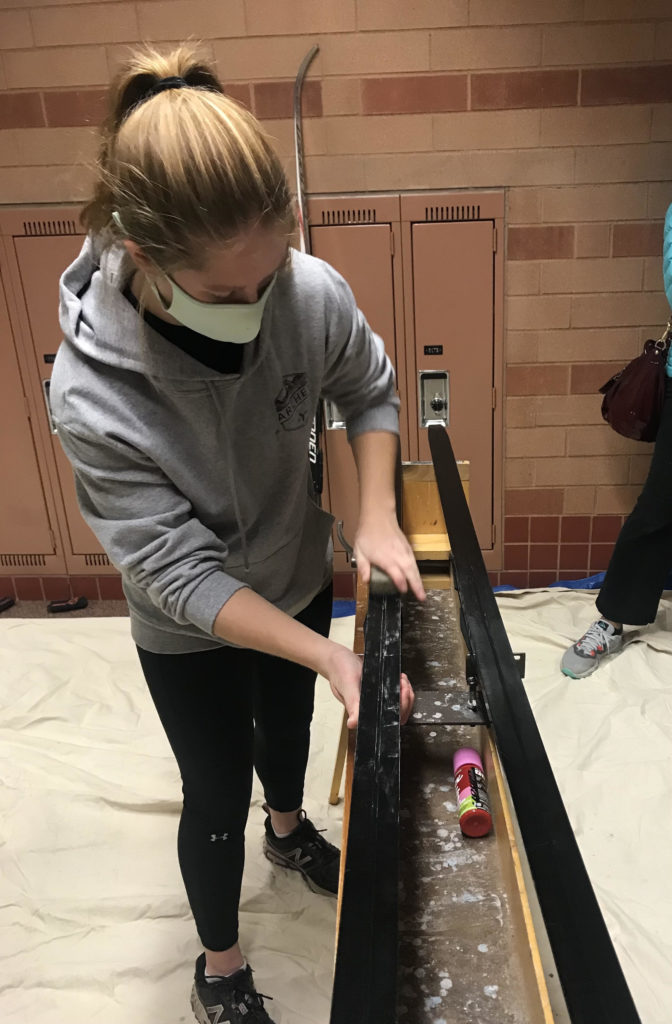
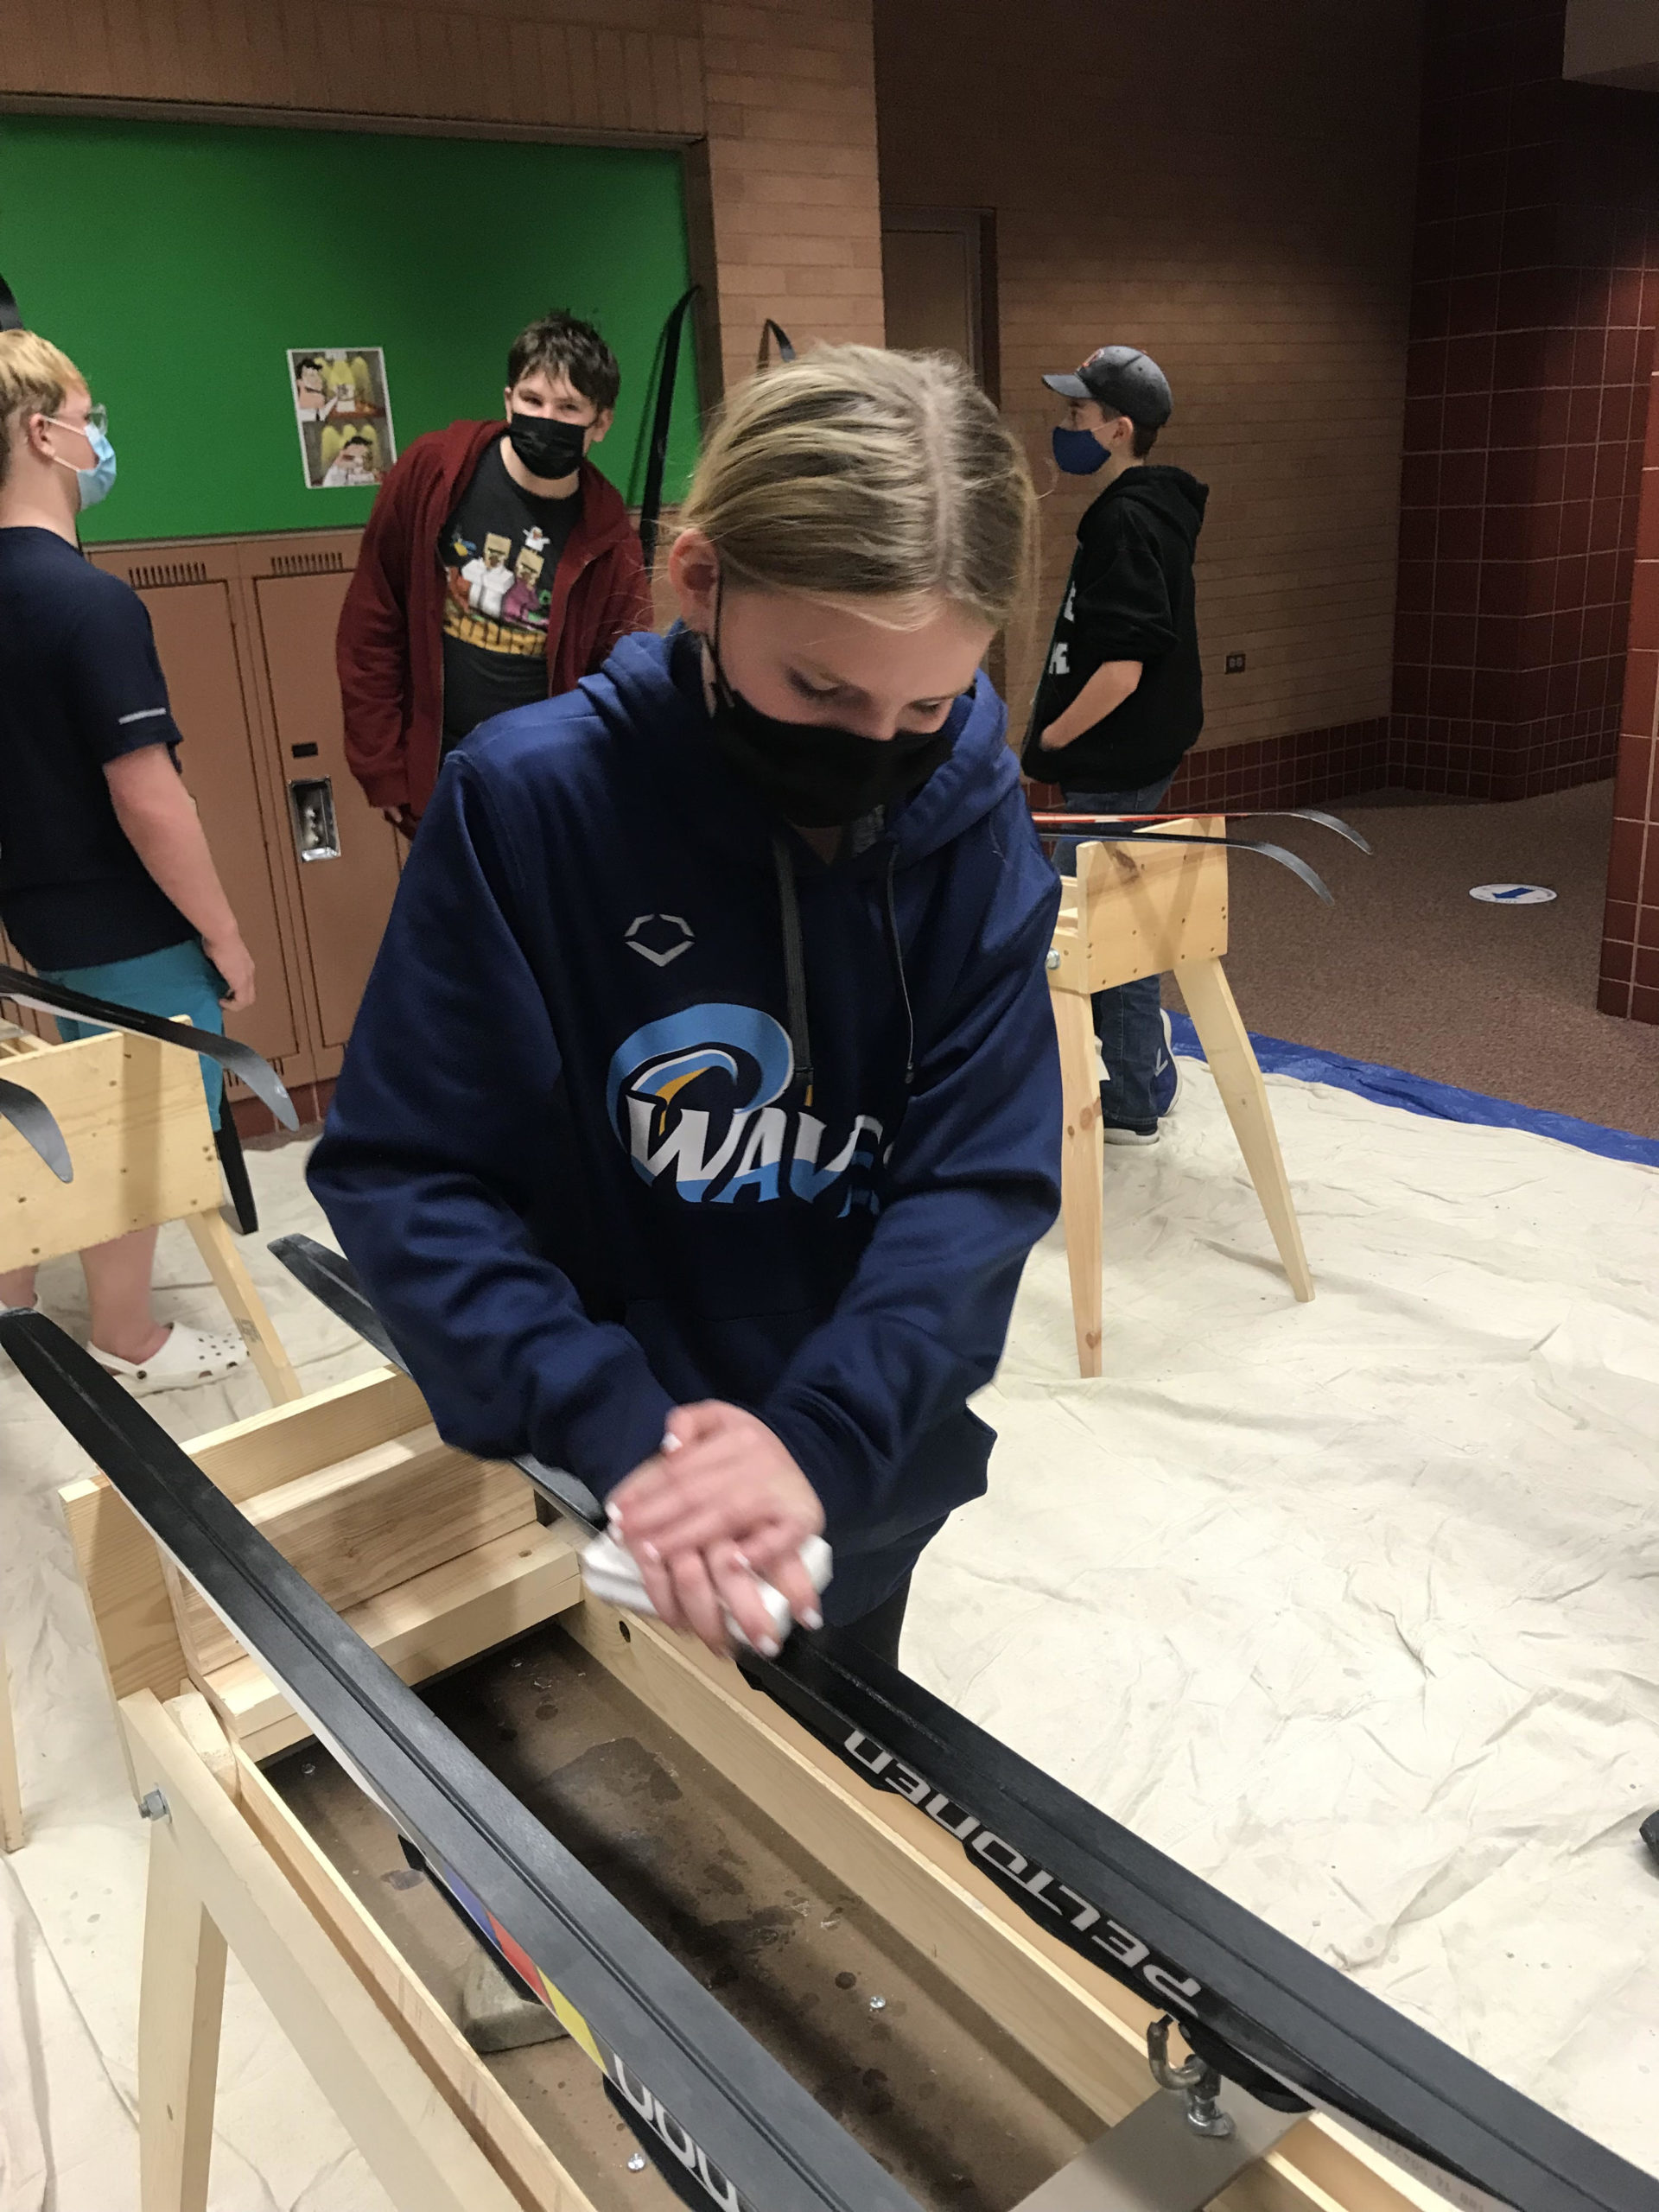
Removing kick wax from Classic skis

Materials:

  • kick wax remover or any other non-toxic degreaser (e.g. Simple Green, Orange Peels, etc.)
  • paper towels
  • scraper
  • Scotch Brite pad

Steps:

  1. Rub a small amount of ski wax remover onto the kick wax zone of the ski (see image above) with your finger and allow it to stand for three to four minutes. DO NOT let the wax remover flow into the glide zones of the ski (tip and tail).
  2. Scrape off as much kick wax as you can using the plastic scraper. Work toward the center of the ski to minimize getting wax remover into the glide zone of your skis.
  3. Pour a small amount of wax remover onto the Scotch Brite pad and remove the remainder of the kick wax using the pad with a soft scrubbing motion.
  4. Wipe the ski dry with a clean paper towel.

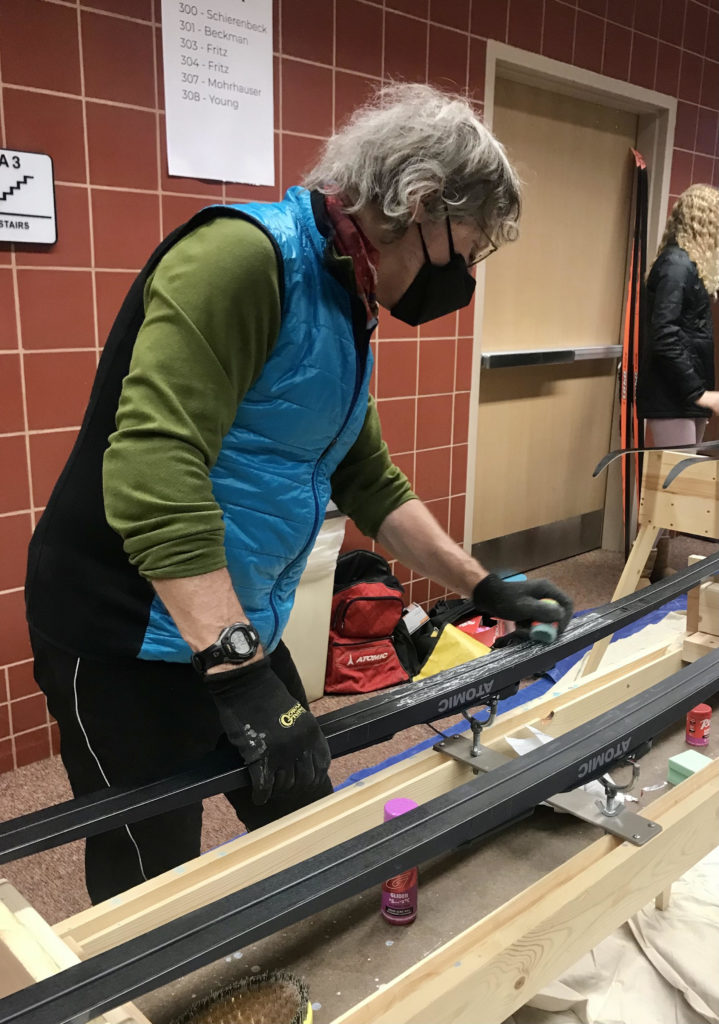
Applying glide wax to skis

At the skier pods, skiers will prepare their skis for meets with glide wax. THIS APPLIES TO BOTH CLASSIC AND SKATE SKIS.

Materials:

  • waxing bench
  • glide wax remover
  • paper towel
  • glide wax
  • brush

Steps:

  1. Remove glide wax using glide wax remover and paper towel from the glide zones.
  2. Dab and then smooth the glide wax in the glide zones.
  3. Let glide wax dry for 15 minutes.
  4. Vigorously brush the glide wax zones to remove excess glide wax.

Do all these steps moving tip to toe on each ski, bypassing each ski's kick zone.


Removal of glide wax with remover and paper towel
Dabbed glide wax on a ski
Smoothing the glide wax
Brushing dried glide wax to remove excess

Choose your adventure with ski waxing!

The flowchart below outlines the ski-waxing prep needed for practices and meets. To determine the waxing method(s) needed, a skier will identify (1) the ski type and (2) the event.

These instructions apply to ALL skiers, directing skiers to specific waxing instructions above. Note that coaches may apply slightly different waxes to Varsity skiers' skis.

Choose Your Adventure with ski waxing!
ISD 196 Nordic logo

ISD 196 Nordic Ski Booster Club | email: isd196nordicskiteam@gmail.com

Head Coach: Brian Abery | email: abery001@umn.ed